I've been mining in the UDK salt mines as of late, and progress is happening. So much, that I've of course, been ignoring the blog a little. I'm getting more comfortable with Zbrush, enough to the point where I don't just stare at a model for an hour, debating how I can possibly get what I want out of it. Let's put it this way, on average I can make a normal map for an object in under a day. I guess it depends on the prop, but that's a huge improvement on one month (laser gun). That one month spent on learning the normal mapping workflow was a pain, but it seems to have paid off. It's a good feeling to know that, as one whole year trying to grasp the Source engine proved fruitless. I feel like I'm getting faster at just about everything that I do, while not losing any quality on the actual result, which makes me extremely happy. A prop that would have taken me a week to do 2 years ago now takes me a day. Well, enough gloating over my artistic growth. To the meat and potatoes, as I say.
I've been texturing, which is really all I can say. It's the bulk of time spent on my work, probably a solid 50%, at least. I've been doing one object at a time with diffuse maps, spec maps, and normal maps. Hell, even the occasional opacity map. The fruits of this labour:

I'll be honest. I'm proud of this one. It might be one of the best models I've done. The spec map works great, the normal map works great, diffuse, everything comes together very well. The normal map took the most time, due to the sheer amount of detail I put into it. The player won't see it too closely, so I didn't go ape shit on it, but most of the reference detail is there. I had a fully rotating reference to look at, which helps immensely. Thanks Newegg.com!

I'm curious to see how the bear trap matches up against the ground texture when I put it in. I might have to do some tweaking on the color, but it'll work one way or another. I wanted to keep this one simple. I'll probably put a chunk of meat on the trap part to make it look like the player is trying to trap some kind of game.

The boom box was similar to the camera in the way that there was a lot of potential detail to show off. So I went nuts with it. It was out of necessity I feel though, because since it's an older type of stereo, it needs the detail to be believable. Think of it as something the player found in a scrapyard somewhere that he somehow fixed and got to work. The knife is one of those simple props that adds a little bit of needed detail to the overall environment.

This is the side of the shack. I'm happy with how this layout turned out, it just seems like it flows well. Not sure why. The bucket was one of the first models I textured, and has some pre-meditated dirt at the bottom like most of my objects. This is a dirty environment after all. Textures on the meat slab are incoming. You can get a glimpse of the skybox texture which has the setting sun situated at the edge of the cliff, thus creating what Valve calls a "vista". It's pretty much a sight that is supposed to direct your eye. A pretty sight to behold, if you will. Thanks to Jake for this nifty little idea. Obviously, I'm shopping out the trees, since it's a view out into the ocean.

Here's the makeshift table. The specularity for the flashlight top needs to be tweaked, as does the water bottle. I've been trying to get a good looking material going for the bottle, but that has proven difficult due to my lack of knowledge on Unreal's material editor. I might add an item or two if time allows.

Things will really come together when the shack is completed. For now, objects just float on checked default surfaces. The backpack is heavily zbrushed, but the other items were simple tasks. Getting the uv layout for the lightmap on the tennis ball to work was a pain. I had to utilize some trickery, that's for sure.

Now this is a closeup of the light, which makes it look a little worse than the player will see. It'll be seen from further away, rest assured. Getting the lighting to look right for the room was no problem. Making light hit the lamp in a desirable way was another story. I basically had to make the light that affected the rest of the room not affect the actual lamp, and I created a new one to specifically light the lamp itself and nothing else.

The first aid kit was my first model to texture. Like everything else, it's a mixture of zbrush and photoshop as far as the normal mapping goes. I think it'll blend well with the completed environment. Here's pics of some of my zbrush models fresh out of the view port itself. Keep in mind that these are incomplete, as they are taken into photoshop afterwords. Correct some bad normal baking, and then add in some detail with the Nvidia normal map filter.


Well, that's it for now. I'm gonna keep plugging away at it, and I'll have another update when I get more stuff textured. Hopefully it'll at least be almost done at that point. I talked to Bryan Jares, my concept artist, and he's gonna get started on some drawings/ paintings soon. I'll post those up when I get them. Speaking of that,
Bryan, here's your section of the post: 


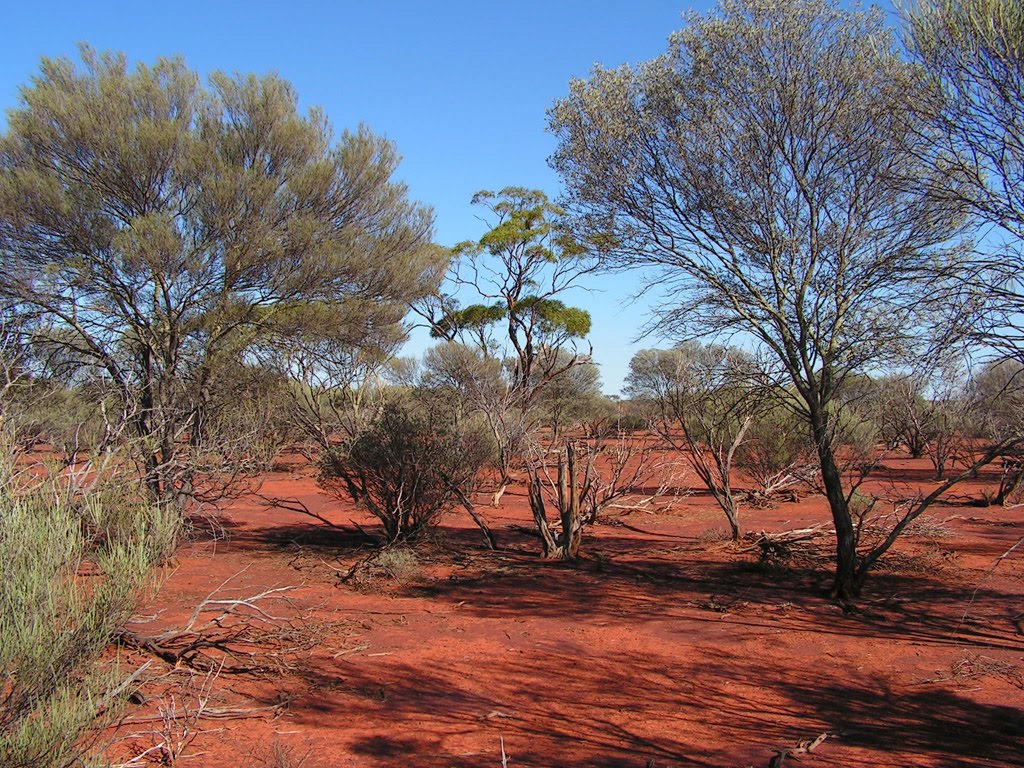
This is a VERY rough layout of the map. It's just to give you some idea of where everything is situated. Mind the horrible photoshopping. The bottom right rock texture indicates where the cliff drops off into the ocean. It's pretty much situated in the Australian desert, on a cliff right by the sea. The brownish orange shapes at the right of the image are rock formations. There should be two pics in the "general landscape" folder on photobucket that give you an idea of what this looks like. There's also a folder that shows how the cliff side will look. As for the actual ground, in the general landscape folder, look to the pics with orange sand in them. That's what I'm aiming for. As for the plane crash, there's a plane at the top of the image, as well as some trees under that. I want there to be some separation between the plane wreck and makeshift shack. It won't be a forest by any means, but just a concentration of trees to break up the environment. Finally, the shack itself will be left VERY open for you to decide. Just make sure that the dimensions fit with the rough model I have now.
If things are left too open for you and you need some direction, here's some pics that are the closest to what I want. All the other pics on the photobucket page are meant to garner some additional inspiration for where you could go with it:

Feel free to add in some metal surfaces, as seen in the other pics.


These are the pics that look the most like how I want the overall landscape to look. Take a look at the pic with the vehicle in it. Replace the jeep with the wrecked plane, and assume that the background is how the area beyond the plane is. It's just an endless open desert with trees obscuring the view.
Here's a list of things that HAVE to happen with these concepts.
1) It needs to be based in reality. No fantasy stuff, as I'm sure you're aware.
2) The time of the day is during the sunset. So as with that sort of lighting, objects in the exterior part of the environment will be pretty dark, but I still want to be able to see some detail in them.
3) Try to stick with the sort of lighting the skybox would offer. I don't want you to feel too restricted on color, but keep it within that realm.
4) Stick to the reference I give you, obviously. Also heed to the layout I gave you in the 2nd pic from the top of your part of the post.
5) No need to include the actual props I've done. What I'm mainly concerned about is the plane, shack, and overall landscape.
Other then that, go nuts. If there are little things you can do to make the environment more interesting, go for it. Chances are, I'll probably like them.
Here's a breakdown of the pics I'll need:
1) A pic with the same rough angle as the layout pic a gave you. Just something to get a feel for the whole place. Can be very roughly detailed like we discussed earlier.
2) An image of the plane wreck.
3) An image of the shack exterior
4) A pic of the shack interior.
5) A pic of the rock formations.
For pics 2, 3, and 4, no need to put in the environment around them. Just the objects themselves. As for what's a painting and what's a drawing or rough sketch, it depends on what you want to put into this project. I would be thrilled if they could all be detailed paintings, but I definitely don't expect you to feel like that has to happen. If I can at least get a rough sketch on s0ome of the pics, I would be happy enough. The most important pics to have painted would be the shack and plane.
Well, I think that just about covers it. If you have any questions at all, just ask. My email is 3dryan@gmail.com, or you can hit me up on Steam. I'll try to be on as much as possible. The link for my photobucket is: http://s573.photobucket.com/home/3DRyan.
Good luck you, sir!

 Greetings y'all. So I've gotten a bit side tracked by some happenings in my life, but I'm still plugging away. I just finished sculpting out the majority of the terrain, and next is texturing it. UDK has a pretty nifty way of blending between textures based on the height of the terrain that I'm using. I have it set up so that on flat surfaces you have some flat sand with some rocks here and there, raised surfaces have a more bumpy feel to the sand, and the cliff side that overlooks the sea has its own rocky texture. The game engine automatically calculates which texture to show based on height, and I just have to sculpt it out and play with the numerous settings. Another cool feature that UDK terrain has is the ability to simplify its geometry based on the player's view. If the player is right next to a hill for example, they see the high detailed version of it. But, as they walk further away from it, it loses more and more polygons until it's at its lowest poly version. Definitely saves ALOT of processing power, and allows me to make a higher res landscape, so that's awesome. As for all the little dots on the cliff, I'm not sure. I'm sure I'll find some way to troubleshoot it.


 Another thing you'll notice is that the water is done. I followed a tutorial on www.hourences.com (if you mod with UDK, check it out, it's an EXTREMELY useful site) , that was very useful in teaching me how to make water look realistic without making the shader itself too complex. I'll no doubt change some stuff about it, like making the reflection of the sun more accurate. But, I'm very, very happy with how it turned out. Which reminds me, another reason why I haven't had too much to show lately is that I decided to take a week to get really in depth with unreal editor's material system. I feel like I can make my objects look ten times more realistic as a result. It'll be the last thing I do to the desert, sort of the icing on the cake if you will.